Setting up Custom Domain for your Website: For Amazon Web Services (AWS Route 53)

Before setting up redirection on your Name Server, make sure you have done the following on the CMS:
- Visit our CMS platform at https://cms.oneaccord.cc.
- Log in using your credentials.
- Navigate to the "Configuration" section from the sidebar menu.
- Click on the "Domain Setup" tab.
- Enter your preferred domain name.
- Click on "Check Availability" to confirm if your domain is available within our system.
- Once confirmed, click on "Save" to proceed.
- Look out for the success message indicating that your website has been updated.
Step 1: Login to Your Domain Provider’s Site: https://signin.aws.amazon.com/
Upon successful login, you will be redirected to your Amazon's AWS dashboard.
Step 2: Go to search and search Route 53

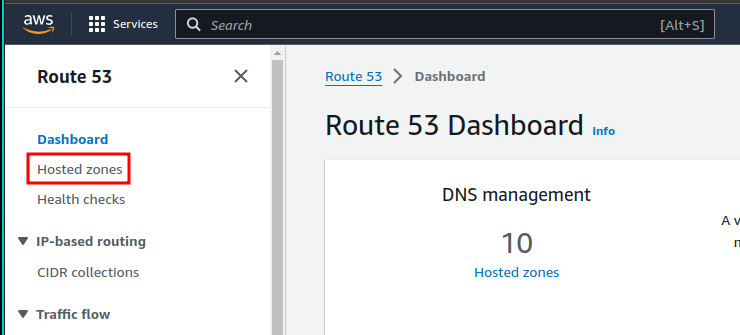
Step 3: Once you select Route 53, Under the Dashboard, you can see Hosted Zone, Click there:
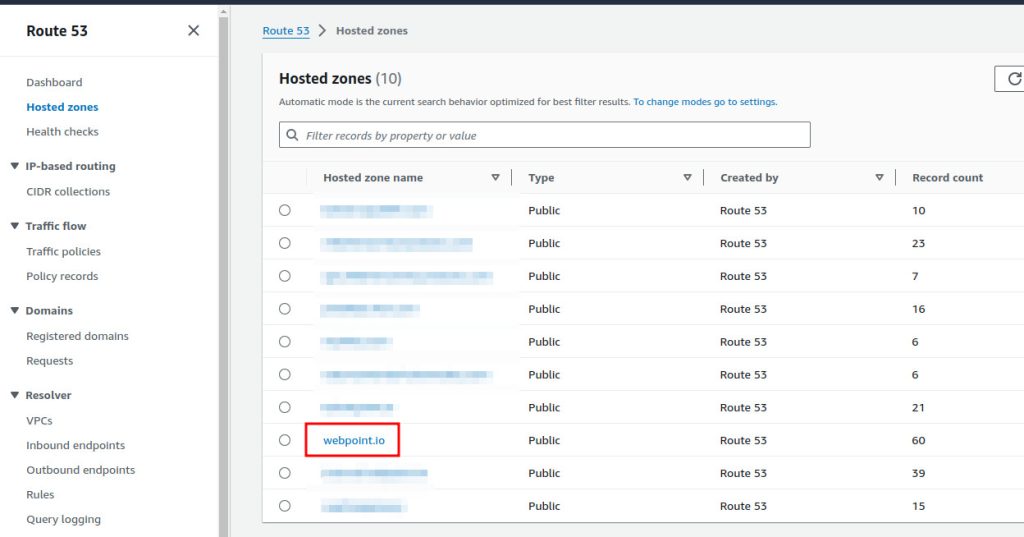
Step 4: On the hosted zone, you will be able to see all the websites you own. Select the church website you want to connect with:
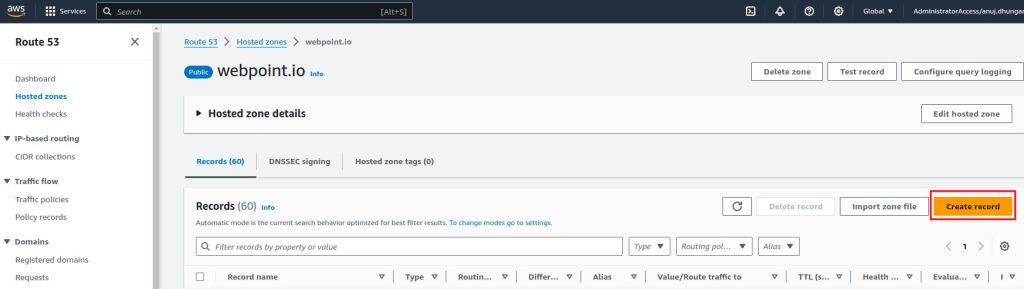
Step 5: Once you select the Domain Name; Select the Create Record Option as highlighted on the screenshot below:
Step 6: Once you click on Create Record, you will see the following interface:
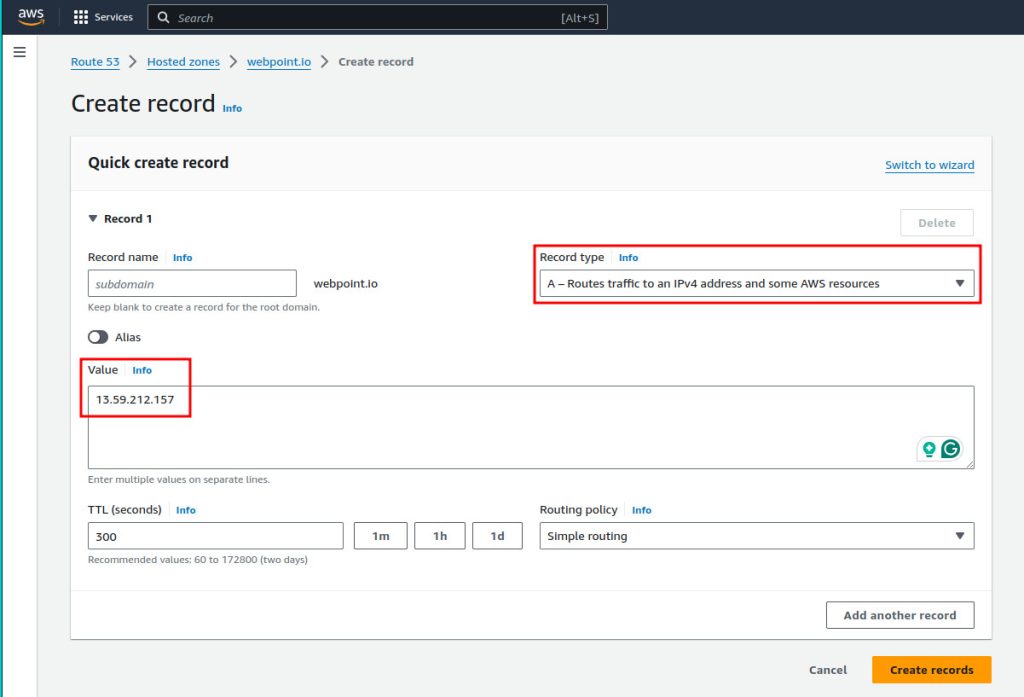
The Record Type should be A record and paste the following Value on the Value option: 13.59.212.157
Please ensure the rest of the settings are similar to those in the screenshot. Once you have updated that information, click on the Create Record button.
Important Note: Ensure you don’t have old A records pointing to another IP address on the same domain name. If you do, please delete that old A record.
Step 6:

Keep the Record name field empty
The Record Type should be A record and paste the following Value on the Value option: 13.59.212.157
Please ensure the rest of the settings are similar to those in the screenshot. Once you have updated that information, click on the Create Record button.
Important Note: Ensure you don’t have old A records pointing to another IP address on the same domain name. If you do, please delete that old A record.
Step 7:
Create another record
This time select record type CNAME

On the Record name put “www”
On Value put your domain name, For this example image we have put “webpoint.io” as value.
Once you have updated that information, click on the Create Record button.
Once this is done, give it some time, and the Domain will be transferred to your custom domain.